Friday, August 3, 2012

Random Food Fridays - Crazy Caprese


I hope you are going to a farmers' market this weekend. Summer is in high gear and everything is beautiful, abundant and delicious. This is a salad I love and have eaten and toted to pot lucks often. I call it Crazy Caprese because it has tomatoes, fresh mozzarella balls and basil, but it's a little deconstructed and quite variable. In this example, I used three different kinds of tomatoes - a big red one and a green zebra from my farm box and the little orange ones are sungold from my garden. I also used some small cubes of carrot and red bell pepper along with some avocado. The whole thing got tossed with white wine vinaigrette and served on top of a bed of beautiful leaf lettuce, also from my farm box.

There are a million ways to eat Summer produce. Adventure! Try different kinds! Chow down! Your mama would be proud!

Friday, July 20, 2012

Random Food Fridays - Spatchcocked Chicken on the Grill

Chicken and corn, cooked on the grill, plus sunomono.
A great summer meal.


Spatchcock. Admit it, you want to say it, and LOUD. It's a fun word to say. There are lots of fun food words - muffaletta, bi bim bap, and even sunomono. I realize that those last three originated from languages other than English, but that's part of what makes them fun. This word - spatchcock - originates from English. I've been flattening chickens for the grill for years, but I never knew this was the term for this method until I saw it on Two Fat Ladies. The beauty of this method is that it increases the surface area of the chicken for both the marinade and the heat.


I know some of my friends are squeamish about meat that looks like an animal, but hey, that's what it is. I've always liked cutting up my own chickens because I do a better job of it than most grocery stores or meat packing plants and I get to keep the bones. This job is pretty easy. You must have a very sharp knife. Poultry shears will do, but a good sharp knife will take you far. Simply wash the chicken, remove any extras, like giblets and pat the chicken dry. Place it breast-down on your meat cutting board. Begin cutting from the neck area down on one side of the spine. When you get to the thigh, you may have to wiggle it to find the joint. Cut through the thigh joint and continue down to the tail. Do the same thing on the other side of the spine and remove it. Pull the cavity open and make two cuts, one on either side of the breast bone and keel bone. This will allow you to pull the cavity open and flatten the chicken.


You can really use any kind of marinade you like. I used a simple stand-by - white wine vinaigrette . I'll give you the recipe at the end of this post. It's great on all kinds of salad too. The reason it's real green is that I used extra virgin olive oil


To marinate, place the chicken in a one-gallon zip top bag and pour in the marinade. (Shake the marinade first, if needed.) Remove as much air as possible from the bag, then squish the marinade all around. When I'm going to grill on a week night, I like to prepare everything the night before. Then I just have to get the grill going when I get home from work. If you can't marinate over night, I would recommend at least a couple of hours.


To grill a whole chicken, even a spatchcocked one, you should use indirect heat. I have two nifty grill accessories that let me get the coals going on either side of the grill, leaving an open space for the food to be cooked indirectly. I've placed some heavy duty foil on the bottom rack to catch the drips.


This chicken takes somewhere between 40 and 60 minutes. My chicken started out around 4 pounds and was done in 50 minutes. A good thermometer is extremely helpful when grilling foods that must come up to a certain temp for safety. Chicken and other poultry should come up to at least 165 degrees. You can actually pull it at about 160 and cover it with foil and let it rest for 15-20 minutes. The internal temp will increase for sometime and then begin to cool. This step makes a huge difference in the juiciness of the finished product.

I added corn to my grill about half way through the cooking time. I simply gave the husks a tiny bit of a trim on the end, just so any loose bits wouldn't ignite. I left them otherwise undisturbed and soaked them in cold water while the chicken started its cooking. Thirty minutes is about right, for this type of grilling. If you have a very hot grill, the corn may need a closer eye and be done a lot faster.

Here is my meal. So delicious! Some of the best of summer!

Spatchcocked Chicken on the Grill
1 whole chicken, about 4 pounds
About 1 1/2 cups marinade (vinaigrette recipe to follow)

Wash and pat dry the chicken. Remove any giblets and excess skin and fat from the cavity. Place it breast-down on your meat cutting board. Begin cutting from the neck area down on one side of the spine. When you get to the thigh, you may have to wiggle it to find the joint. Cut through the thigh joint and continue down to the tail. Do the same thing on the other side of the spine and remove it. Pull the cavity open and make two cuts, one on either side of the breast bone and keel bone. This will allow you to pull the cavity open and flatten the chicken. Place the chicken and the marinade in a flat dish or a one-gallon zip top bag. Massage the marinade into the chicken. Marinate a few hours or over night.

When ready to cook, remove the chicken from the refrigerator and place on a counter top. Allowing the chicken to come closer to room temp allows for more even cooking on the grill. Meanwhile, prepare your grill. Set up a gas grill for indirect heat. If using charcoal, use 40 briquettes - 20 on either side of the grill. Place a piece of heavy duty foil in between the charcoal. Turn the edges up slightly to capture the drippings. When the coals are ashy and glowing, oil the grill rack. This can be done by rolling up some paper towels, dipping the roll in oil and using tongs to rub the oily paper towels across the rack. Remove the chicken from the bag and place on the hot, oiled grill rack over the foil. Arrange the legs so that the ends of the legs are facing outwards. Make sure your top and bottom vents are open and place the cover on the grill. Check the internal temperature of the chicken after 40 minutes. I use a digital thermometer. Be sure to place the probe in a meaty part of the chicken and do not touch a bone. I usually measure the thickest part of the thigh. When the chicken reaches an internal temp of 160-165, remove it from the grill. (Be careful. It may be so tender it will fall apart!) Place on a  platter and cover with foil for 15-20 minutes before carving. Enjoy!

White Wine Vinaigrette for Salads and Marinades
1/2 cup white wine vinegar
1 heaping tsp. Dijon mustard
1 clove garlic, crushed
1/4 tsp. garlic and herb seasoning
1/2 tsp. salt
1/4 tsp. sugar
lots of fresh ground black pepper
1 cup extra virgin olive oil

Combine all ingredients in a jar with a tight fitting lid. Shake like crazy until it is emulsified. You can add other fresh or dried herbs to taste. This version is pretty basic.

Sunday, July 15, 2012

Wild Yellow Plums and Pineapple - Experiments, Results and 5 Spice

Plum and Pineapple Jam, three ways.
1. Cooked with Sure Jell  2. Without Sure Jell, 45 minutes  3. Without Sure Jell, 60 minutes

I started thinking about this post last week. On Friday, I happened to be at the California State Fair during the jam and jelly judging! Miss Paula was so patient and kind and listened with courtesy as I geeked out over flavor, set, appearance etc. I learned something very important that day - I can do this! I thought I had to have some sort of perfection going on, but anyone can enter and it appears they did. I have to wonder if some were damaged during shipping during hot weather, but many were poorly set, incorrectly presented or just plain unsafe. Interestingly, just about every entry that wasn't disqualified got a ribbon. They score the first round on the Danish System, which means that each product is scored on a matrix and at our fair, 90-100 is first place (blue ribbon), 80-89 is a second place ribbon and 79-80 is a third place ribbon. I hate to say it, but I don't know the colors of the second and third place ribbons. The first place, blue ribbon is the only one I heard them identify. After the scoring is completed, the first place products are judged against each other for best of class and best of show.

So, jams that were too soft, too hard, had the wrong head space, or had fruit floating were all docked points. Flavor was often addressed and I noted that when more than one fruit is used, the attention is on balance. Also, when other flavor agents are used, such as spices or booze, there is a fine point where the enhancement goes too far and overpowers the rest of the flavors. 


I've had all this learning and confirmation of what I've discovered! Also, This came right when I was preparing to share these different methods and how they turned out for me. My mom has several wild plum trees on her property. I used these after they had been frozen when I first posted about plum and pineapple jam. Thank goodness, this year I was able to hit it when they were perfectly ripe. You will see the beautiful color I was looking for, but couldn't achieve with the frozen fruit.

From the other side...


1. This one has 1/2 of a very large pineapple, peeled and chopped fine, plum pulp added to equal 6 1/2 cups fruit, 4 1/2 cups sugar and one packet of Sure Jell. I used the pink box for reduced sugar. I like the flavor of this very much and it is similar to what I would do with canned pineapple. As you can see, the  bright color is better maintained by the short cooking time. However, the short cooking time also contributes to fruit floating because there isn't enough time for the air to be replaced with the sugar solution. This will be just fine for our family and friends, but I wouldn't consider this suitable to be submitted for judging.


2. This one has the same proportions as above, but without the Sure Jell pectin. Plums are supposed to be one of those fruits that has quite a bit of it's own pectin. Perhaps I didn't cook it long enough. It's pretty much syrup. Now, jams that end up being syrup are not a problem at my house. My mom likes my runny jam on her pancakes more than maple syrup. I will also use this on my yogurt. The flavor is still very nice.


3. This is a little more like it. This is 4 cups chopped pineapple, plum pulp added to equal 8 cups fruit, and 5 1/2 cups sugar. I used a spice ball to infuse 5 spice - cinnamon, ginger, star anise, clove and black pepper. The star anise is a bit strong, but it is a lovely, deep flavor and is destined to glaze a pork loin sometime very soon. This cooked a full hour before it tested right on a frozen saucer. This, and the spices, gave it a darker color. The good news is that the pineapple is evenly distributed and the set is very nice. I'm reminded that one of the benefits of not being tied into a pectin packet recipe is that you can use the amounts of fruit you have. As long as your acid is good and you have enough sugar to set, you can go for it.

Here are some close-ups of the results:

1. Commercial pectin - A nice set, glossy and spreadable.

2. No commercial pectin - Syrup. Tasty, but not cooked long enough.

3. No commercial pectin - Enhanced with 5 spice. Nice set. Not as bright in color or flavor, but deep and complex.

I hope my little experiments will help you to learn as I have learned. With gallons of free fruit, it's easier to decide to experiment and risk a failure. While not all of these came out perfectly, none is a failure and all will be enjoyed.

Wild Plum and Pineapple Jam with 5 Spice
One large, ripe pineapple, chopped small and crushed - about 4 cups
Plum pulp added to equal 8 cups fruit
5 1/2 cups sugar
1 cinnamon stick
4 whole cloves
1 star anise
a slice of fresh ginger - about 1/4 inch thick
1/2 tsp. whole black pepper corns

Prepare the boiling water bath and 6 half-pint jars and lids. Place some saucers and teaspoons in the freezer.

Add the fruit and sugar to a large pot. Place the spices in a wire mesh tea ball. You will have to break up the cinnamon stick and you may have to cut the ginger down into pieces that will fit. Add the tea ball with the spices and bring to a boil. Boil gently, stirring frequently for about 60 minutes. Increase the frequency of stirring in the last 15 minutes to prevent scorching. When the jam has thickened and the foam as subsided, scoop a small amount of jam onto one of the frozen spoons and place it back on the saucer in the freezer. After a minute, tip the spoon and push it with your finger. If it mounds up and the surface wrinkles a bit, the jam is done. 

Remove from the heat. Skim any remaining foam. Allow to stand a few minutes and stir gently a few times. This will help distribute the bits of pineapple. 

Carefully ladle into hot, prepared jars. Wipe the rims and top with the prepared lids rings. Process in the boiling water bath for 10 minutes. Carefully remove to a towel lined tray. Allow them to set overnight before labeling and storing. 

This made 5 half pints, plus a little extra.

Saturday, July 7, 2012

Random Food Fridays - Any Jam Coffee Cake


As the mother of an "emerging Bay Area artist," I'm familiar with the problem of production. We are fortunate that Miss Madelyn was able to find an affordable studio in Oakland. That said, we still have walls and closets full of art. Good art. She's working hard trying to get shows, so if you know anyone who wants to be on the ground floor, let us know.

 Detail of Ostomy Roses
Oil on Panel
Madelyn Covey 2012

Yarn Talisman
Yarn, wire, mono filament
Madelyn Covey 2011

This is just a small sample of her latest work. She also makes videos and digital prints and works in water color. That girl is so darn talented!

So, my problem of production is much less glamorous. I like to make jam. A lot. More than I can ever eat. Ever. I have given jams and pickles for holiday gifts since I started on this adventure, but it still takes time to go through it all. I recently took an inventory and finally disposed of my failures and those items over two years old. I kept thinking I'd use that hard jam to make a sauce, or those bitter marmalades to make cookies, but life if too short and too full of excellent jam. So, the marginal jars went bye-bye.

One jam I'm still trying to use up is this plum and pineapple jam. I made way too much. It never was as pretty as I wanted it to be, but it is yummy. This jam is approaching the two year mark and must be used this summer. I've also had many, MANY, little bowls of random remnants from making jams that did not come out to an even number of jars. One solution for using up jam is coffee cake.

This coffee cake is loosely based on Any-Fruit Coffee Cake from the Better Homes and Gardens New Cook Book. Like many basic recipes, you can alter it to suit your needs and tastes. I make a proportion that fits into a 9 X 13 inch pan. On this occasion, I separated it into two 9 inch pie plates because I wanted to use one of my old jars of plum and pineapple jam and also use up the remnants of the Santa Rosa plum and pineapple jam I made last week. I'm keeping the older jam cake for us and taking the other to my mom's house. I used sliced almonds in the crumb topping for ours. Grandma Betty doesn't like nuts, so I left the nuts out for the one my folks and she will share.

The original recipe directs the user to make a thickened fruit sauce to bake into the cake. I'm not sure why anyone would do that if you got jam around the house. The original also uses spice flavors, like cinnamon and allspice, whereas I prefer almond extract to accompany plums. I encourage you to make this with your favorite jam, your favorite flavorings and your favorite nuts. Peach with cinnamon and pecans would be excellent. Because this uses jam, you can use your favorite summer fruits anytime of year.

Any Jam Coffee Cake
3 cups all purpose flour
1 cup sugar
1 tbsp. baking powder
1/2 tsp. salt
1 cup cold butter
1 cup milk
2 eggs
1/2 tsp. almond extract
1/2 tsp. vanilla extract
2 to 3 cups of jam

Crumb Topping:
1 cup all purpose flour
1 cup sugar
1/2 cup cold butter
1/2 cup chopped or sliced nuts, if desired

Preheat oven to 350 degrees. Grease a 9 X 13 inch pan or two pie plates.

In a large mixing bowl, combine the flour, sugar, baking powder and salt. Stir to combine. Cut the cold butter into small pieces and cut it into the flour mixture until it appears like coarse crumbs. Make a well in the mixture and add the milk, eggs and liquid flavorings. Stir to combine. Spread into the bottom of the prepared pan(s).

Stir the jam until spreadable. Gently spread the jam over the batter, leaving 1/2 inch of batter uncovered around the edges. (The jam can burn.) I used 1 cup each in the pie plates. I find it takes a bit more to cover the 9 X 13 inch pan.

Place the flour and sugar for the crumb topping in another bowl. Cut the butter for the crumb topping into small pieces. Work the butter into the flour and sugar mixture with your fingertips until it resembles coarse crumbs. Stir in the nuts, if desired. Spread the crumb mixture over the jam and batter.

Bake in the preheated 350 oven for 35 to 45 minutes. I found that the smaller pans will cook through in about 35, while the 9 X 13 inch pan takes a little longer. Test with a tooth pick in the center of the pan. The toothpick will likely have jam on it, but you shouldn't see any raw dough. Allow to cool for at least 15 minutes. (Hot jam resembles molten lava when eaten too soon.) Enjoy!


Sunday, July 1, 2012

Ginger Syrup Teriyaki Skewers


I missed Random Food Fridays this week. I had a particularly intense work week and took Friday off. But, rather than rest, I had fruit to jam! The summer fruits are coming in like gang busters and I was gifted Santa Rosa plums and apricots from friend's trees. 


The Santa Rosa plums were perfectly ripe and beautiful. Here's a picture of some that I held back for snacking. I'm not posting a recipe for the jam I made, but I will refer you back to this recipe for plum and pineapple jam that I posted in December of 2010. This is basically the same method and recipe, only this year I had beautiful plums that did not need the addition of cranberries to add some nice color.

This is why you didn't get a Random Food Friday and why Mr. Dwayne took me out to dinner!


See the beautiful ruby color? The flesh of these plums is as sweet as honey, but the skins are very tart and give this jam a pleasant tang. This is a great foundation for many sauces and yummy the usual way - on toast!

The players - Tri-tip, sesame oil, soy sauce, ginger syrup and garlic.

Now, for today's recipe! I've been making ginger syrup for a couple of years now. It is so delicious! This is the recipe I use. I can't state this strongly enough - once you have ginger syrup in your life, you won't know what you did without it! I use it to flavor teas, on fruit and in this yummy and easy marinade. If you don't want to make your own, you can always purchase some from Ginger People. I've seen their products in most larger markets.


For the skewers, you can use any veggie you have on hand that will cook over a grill in a timely manner and won't get so soft that it will easily fall off. I happened to have zucchini, sweet onions and crimini mushrooms. They worked out great!


Simply marinate the meat for a few hours, skewer with the veggies and grill. Mr. Dwayne was not sad that the meat to veggie ratio allowed for a fully meat-loaded skewer. He assumed I made it just for him.


These will only require 4-5 minutes on each side, depending upon how hot your coals and how close your grate. I had to move mine around because some were cooking faster than others.

My dinner - Ginger Syrup Teriyaki Skewers and Brown Rice Pilaf. Yum!

Ginger Syrup Teriyaki Skewers
1 lb. tri-tip steak, trimmed of fat and silver skin and cut into 1 inch cubes 
3 tbsp. soy sauce
3 tbsp. ginger syrup
1 tsp. toasted sesame oil 
1 clove of garlic, minced
additional grated fresh ginger, if desired
Veggies of your choice, cut into large chunks

Combine the soy sauce, ginger syrup, sesame oil and garlic in a bowl that is just large enough to hold the beef. I grated in about another teaspoon of fresh ginger, but I'm crazy like that. Stir together and add the beef. Stir to coat and press the beef down into the marinade. Refrigerate until ready to skewer and grill. Marinate at least two hours. 

Prepare your grill or broiler pan. Alternate beef and veggies on the skewers. When all are skewered, brush the remaining marinade over all. When the coals are ready (mostly white), oil the hot grill rack (or broiler pan) and place the skewers over the coals. Allow to cook for about 4 minutes on a side. Our beef came out medium and the veggies were nicely cooked. Remove from the heat and allow to rest for a few minutes while you get the rest of your dinner together. EAT!

This probably would have fed four people, if two of them hadn't been us. 

Sunday, June 24, 2012

Apricot and Pineapple Jam

This is the spring of apricots. Last year was the spring of cherries. I love it that I can rotate through the seasons again and again and keep exploring a new food or new combinations each time.

Apricot and pineapple are a traditional pairing, and for good reason. I've been making plum and pineapple jam for years but always used canned crushed pineapple. It's easy and good. I'm still known for throwing in some canned pineapple when I have an odd-ball amount of fruit that needs to be extended for a good batch of jam. For this jam, I wanted to use fresh pineapple in larger chunks. Apricots can cook right down. I usually cut them into eighths - pretty chunky. The larger chunks of pineapple will add a nice and recognizable texture.

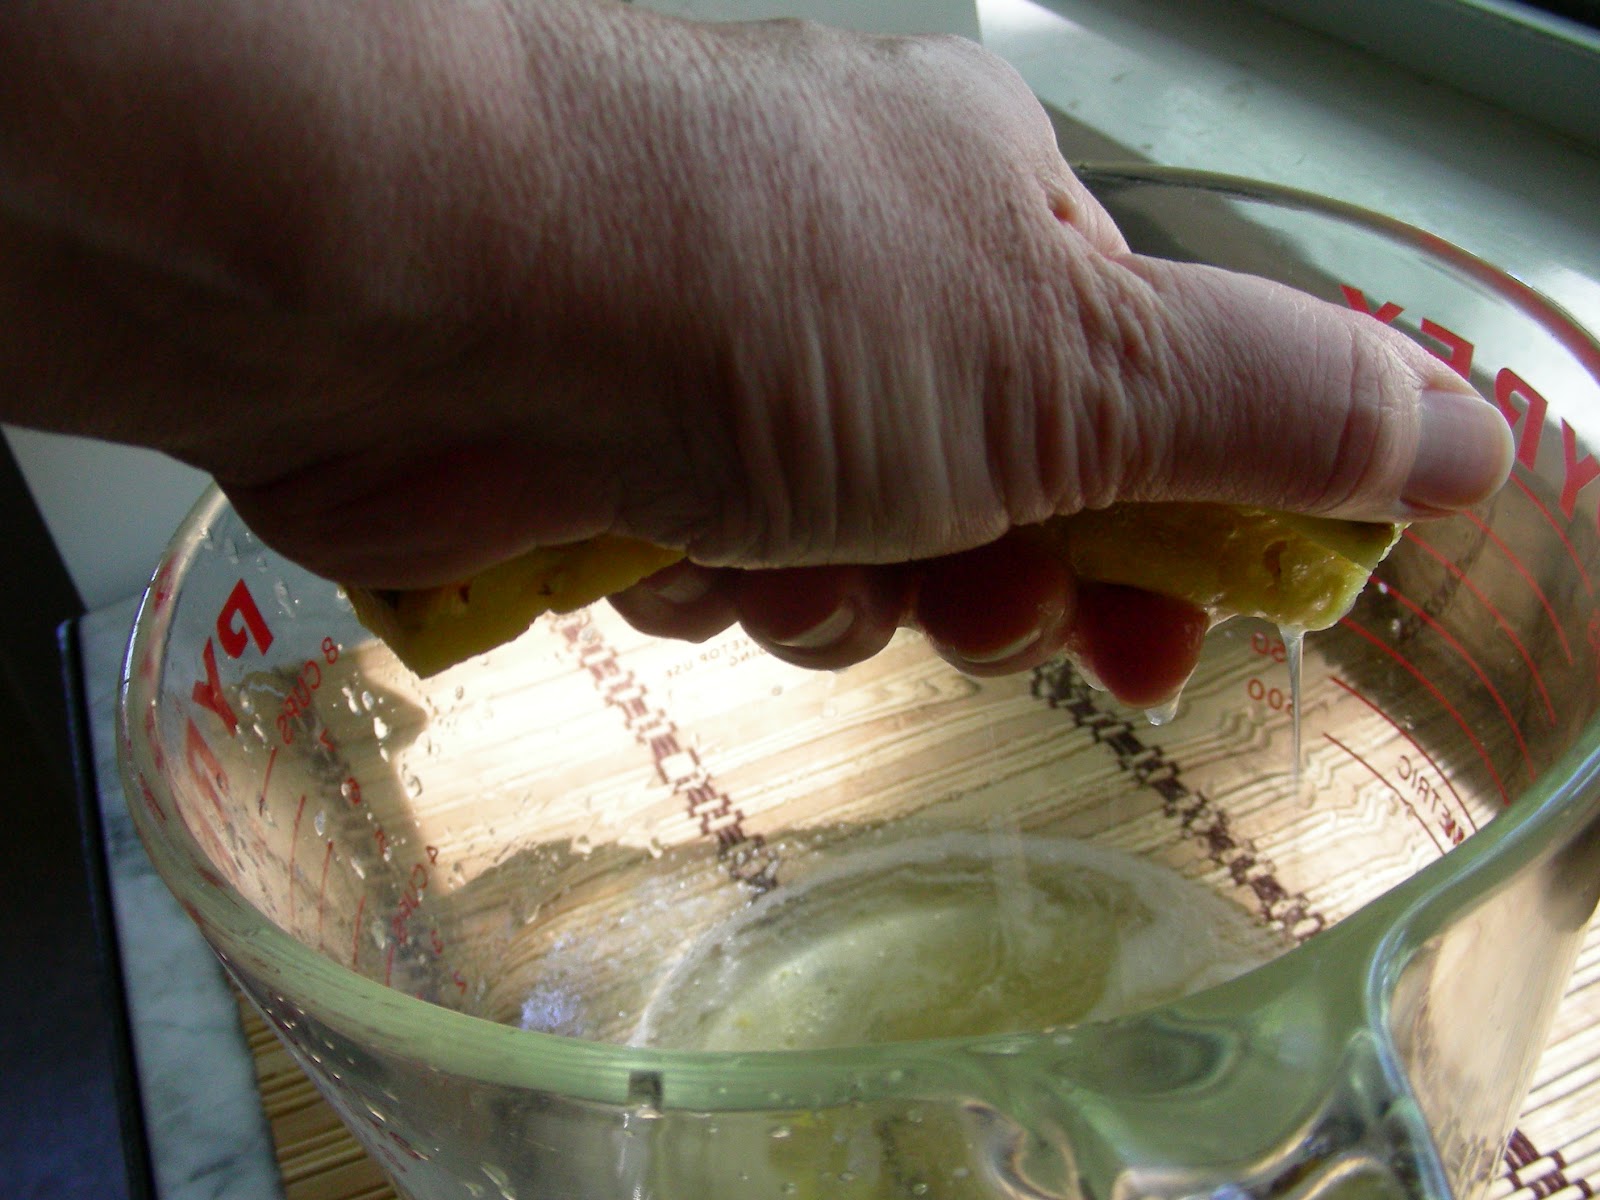
When cutting the pineapple, you may be able to squeeze a good amount of juice from the outer rind that has been cut away.

 Some fruits contain air pockets that make them prone to floating in the finished jam. Pineapple is one of these. To mitigate the floating, I mashed the pineapple. See all those little bubbles? Lots of the air came out, but the pieces did not break apart. The apricots need a gentler hand. After cooking, they won't float.

Pretty!

Yum!

Apricot and Pineapple Jam
1 large, ripe pineapple
Apricots to bring the prepared fruit weight up to 4 lbs
1/4 cup lemon juice
4-5 cups sugar

Prepare 9 half pint jars and lids and the boiling water bath. Place several spoons and saucers in the freezer.

Trim and cut up the pineapple. Be sure to remove all brown spots and the tiny seeds. Squeeze as much juice as you can out of the peels. Chop the fruit roughly and add to the bowl with the juice. Place a bowl on a kitchen scale and reset to zero. Add the pineapple and its juice. Add apricots that have been pitted and cut into eighths until the weight comes up to 4 pounds. Pour all the fruit into a very large stock pot and add the lemon juice and the sugar*. Bring to a boil, reduce heat slightly and boil until it reaches the gel point. This may take 40-45 minutes. You will have to stir more frequently towards the end of the cooking time as the apricots may stick as they begin to break down. To test the jam, scoop a teaspoon out with one of your frozen spoons and place it back in the freezer on one of the saucers. When it is just cool, push it with your finger. If the surface wrinkles and the jam mounds up a bit, it is ready.

Remove the pot from the heat and skim off any foam. Stir lightly to insure that the fruit is well distributed. Carefully ladle into hot, prepared jars. Wipe the rims with a damp cloth and cover with lids and rings. Process in the boiling water bath for 10 minutes. Remove to a towel lined tray and allow to cool overnight before labeling and storing.

Makes 8-9 half pints

Note: You can easily make a delicious pure apricot jam by using the same proportions and 100% apricots with no pineapple. To enhance the flavor, break open the pits with a hammer and put the kernels into a wire mesh tea ball and add to the fruit for the duration of the boiling time.

*Apricots will vary wildly in sweetness. If you can get very good, tree-ripened fruit, less sugar is required. The range I've given you will meet the setting needs of the jam, so the rest is up to you. Start with 4 cups and about halfway through cooking, taste and add sugar if your taste requires it. I ended up with 4 and 1/2 cups on this recipe.

Friday, June 22, 2012

Random Food Fridays - Maui Island Breakfast

 Maui Island Breakfast. 
Prepared with the biodegradable plastic knife from our Hawaiian Airlines lunch box. 
Yogurt, guava jam, liliquoi, mango, apple banana and lychee. Yum!

Ah, vacation. Not only vacation, but, Hawai'ian vacation. My body loves the humidity, the sweet floral fragrance of the air, the warm clear water and the abundance of life everywhere. We stayed at the lovely Ka'anapali Beach Hotel on Maui. It is the second visit there for Mr. Dwayne and I. I've spoken of it so warmly and wistfully for nine years, that when we offered a special trip to Miss Madypants in celebration of her grad school MFA show, she asked to go there.

Ka'anapali Beach Hotel is inspirational and educational. On a stretch of amazing beach, it features the culture and natural beauty of the Island rather than the over-the-top luxury of the nearby resorts. Please consider visiting this beautiful and family friendly hotel. If you ever do, do not miss the Cultural Garden Tour presented by the loving and wise Malihina. I am fascinated by ancient wisdom and traditional food ways and she is a wealth of knowledge.

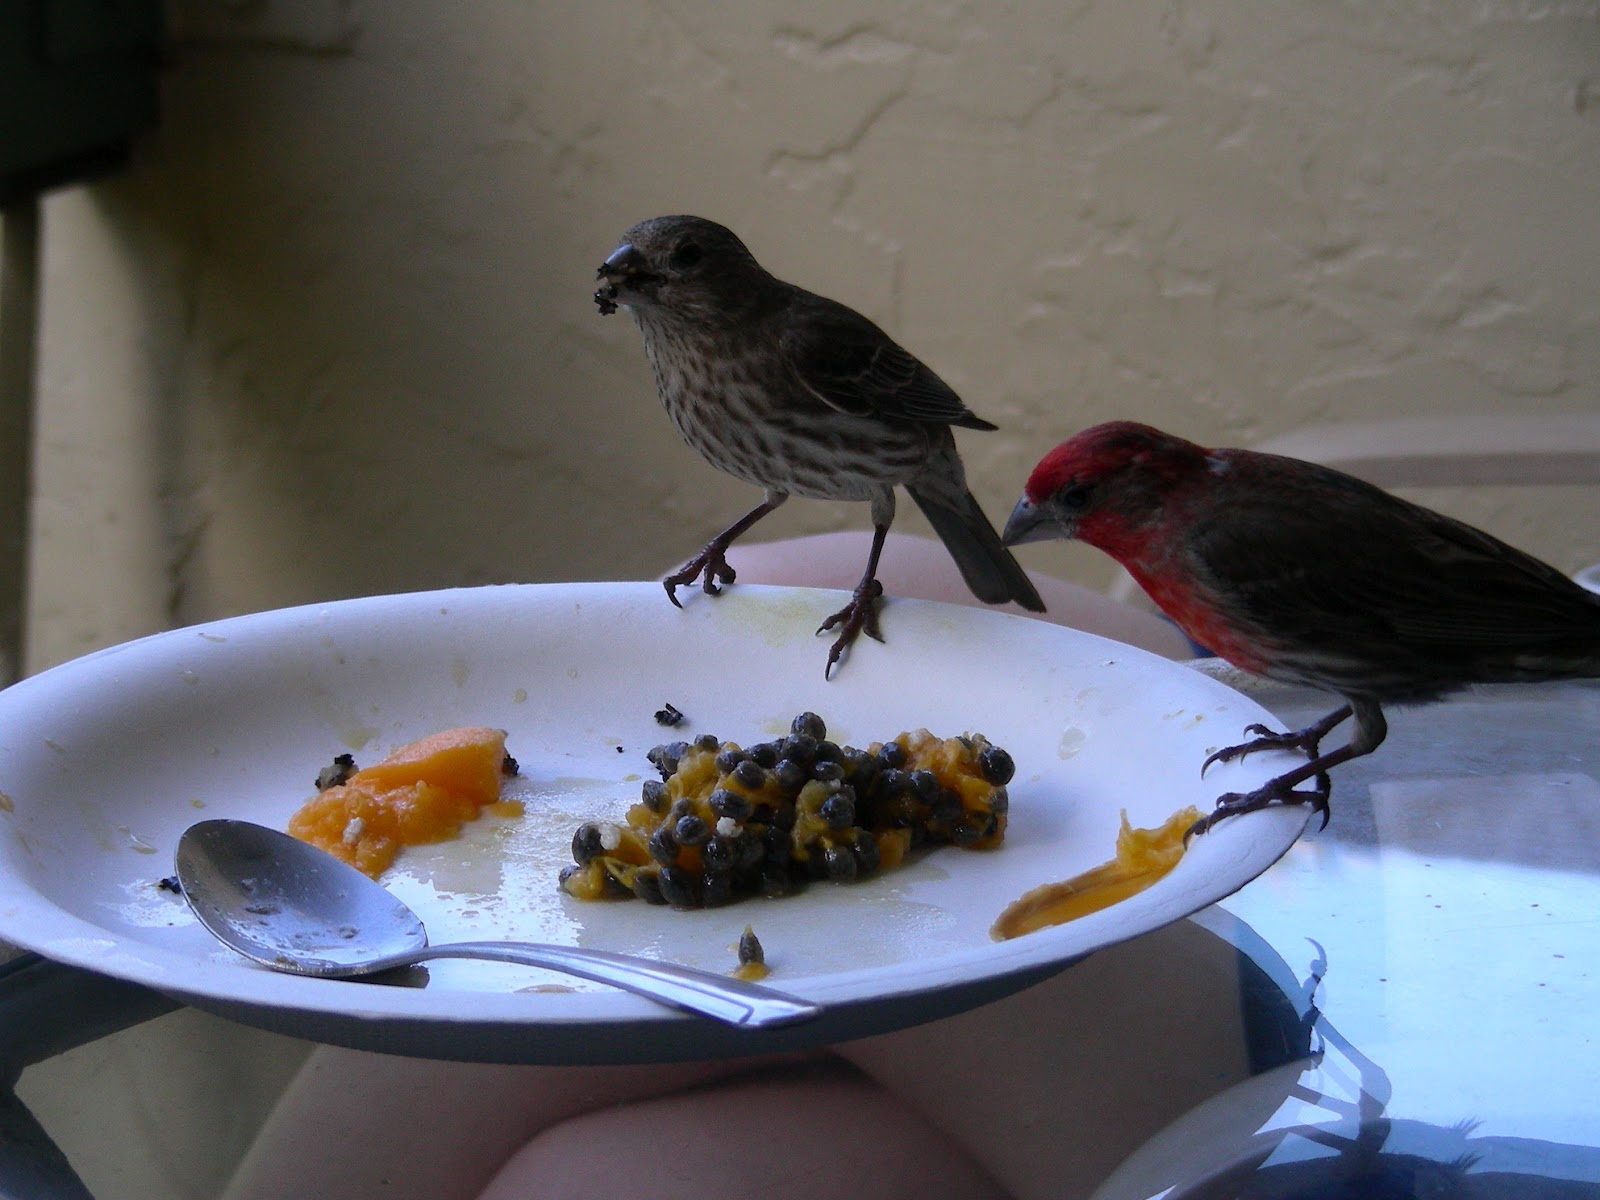
 We shared with Mr. and Mrs. Wren.
She is an expert papaya seed peeler!

Most food is imported to the Islands via ships and barges. The farm-to-table movement has taken root on Maui. Many of Hawai'i's residents are acutely aware of the narrow margin of food availability with which they live. I have friends and teachers who live on Hawai'i Island on a small farm. They say that there are six days of food on the island at any given time. If this idea doesn't inspire you to get growing some food, I don't know what will! One of the consequences of imported foods is increased cost. You can save a ton of money on food by eating an island breakfast in your room and packing lunches for your time at the beach. In a week's time, we became regulars at the nearby farmers' market in Olowalu. Olowalu also boasts Leoda's Kitchen and Pie Shop. Tropical fruit, pie and shave ice from the Olowalu General Store. What more could one ask of Island dining?

 Aloha, indeed!

A Hui Hou!