Saturday, February 11, 2012
Lime & Vanilla Jam
These are beautiful Bearss limes. From the outside, they look like lemons, but from the inside, they are very clearly limes. I am very fortunate to have a coworker with a mini orchard in her yard. She's brought boxes of these limes and tangerines in to work all last week.
The one time I tried to make lime marmalade it was awful. One of the only true failures I've had with my canning adventures. It was incredibly dark and bitter. Madelyn says it makes fine marmalade cookies, but I haven't been inspired to try that. I still have a jar or two around. They will likely be sacrificed for their jars in the near future.
Because of this bitterness, (the limes were bitter, not me) I thought I would experiment and try making a jam using only the juice and supremed segments. They were so pretty and fragrant! Because, according to Wiki, these are Persian or Tahiti limes, I decided to augment the flavor with a Tahitian vanilla bean.
I didn't expect this orange color, but I think it is beautiful. This jam is very, VERY, tart. I'm not sure it would be the best thing for toast, unless you like ultra sour. I have already used it in a citrus salad dressing. I think it would be a fabulous filling for pound cake or topping for a cheese cake. It's making my mouth water just thinking about it!
Lime & Vanilla Jam
15 limes
2/3 cup of apple pectin
4 1/2 cups sugar
1 vanilla bean
Prepare the jars, lids and boiling water bath and place some spoons on a saucer in the freezer.
With a very sharp knife, cut the skin and membrane from the outside of the limes. Carefully cut the segments away from the remaining membranes. Squeeze the membranes over the bowl with the segments to get the most juice possible. Measure the juice and segments and add water to bring the measurement up to four cups.
Place limes, apple pectin and sugar in a large pot. Split the vanilla bean and scrape out the seeds. Add the seeds and the pod to the fruit in the pot. Bring to a boil. Simmer until it reaches about 222 degrees. Test on a spoon from the freezer by scooping out a bit of the jam. Allow it to cool and push it with a finger. If it wrinkles and mounds, you are there!
Carefully ladle into hot, prepared jars. Wipe the rims and top with lids. Process in the boiling water bath for 10 minutes. Carefully remove and allow to set overnight before labeling.
Makes 3 1/2 pints
Friday, February 10, 2012
Random Food Fridays - Fruity Kale Salad with Citrus Vinaigrette
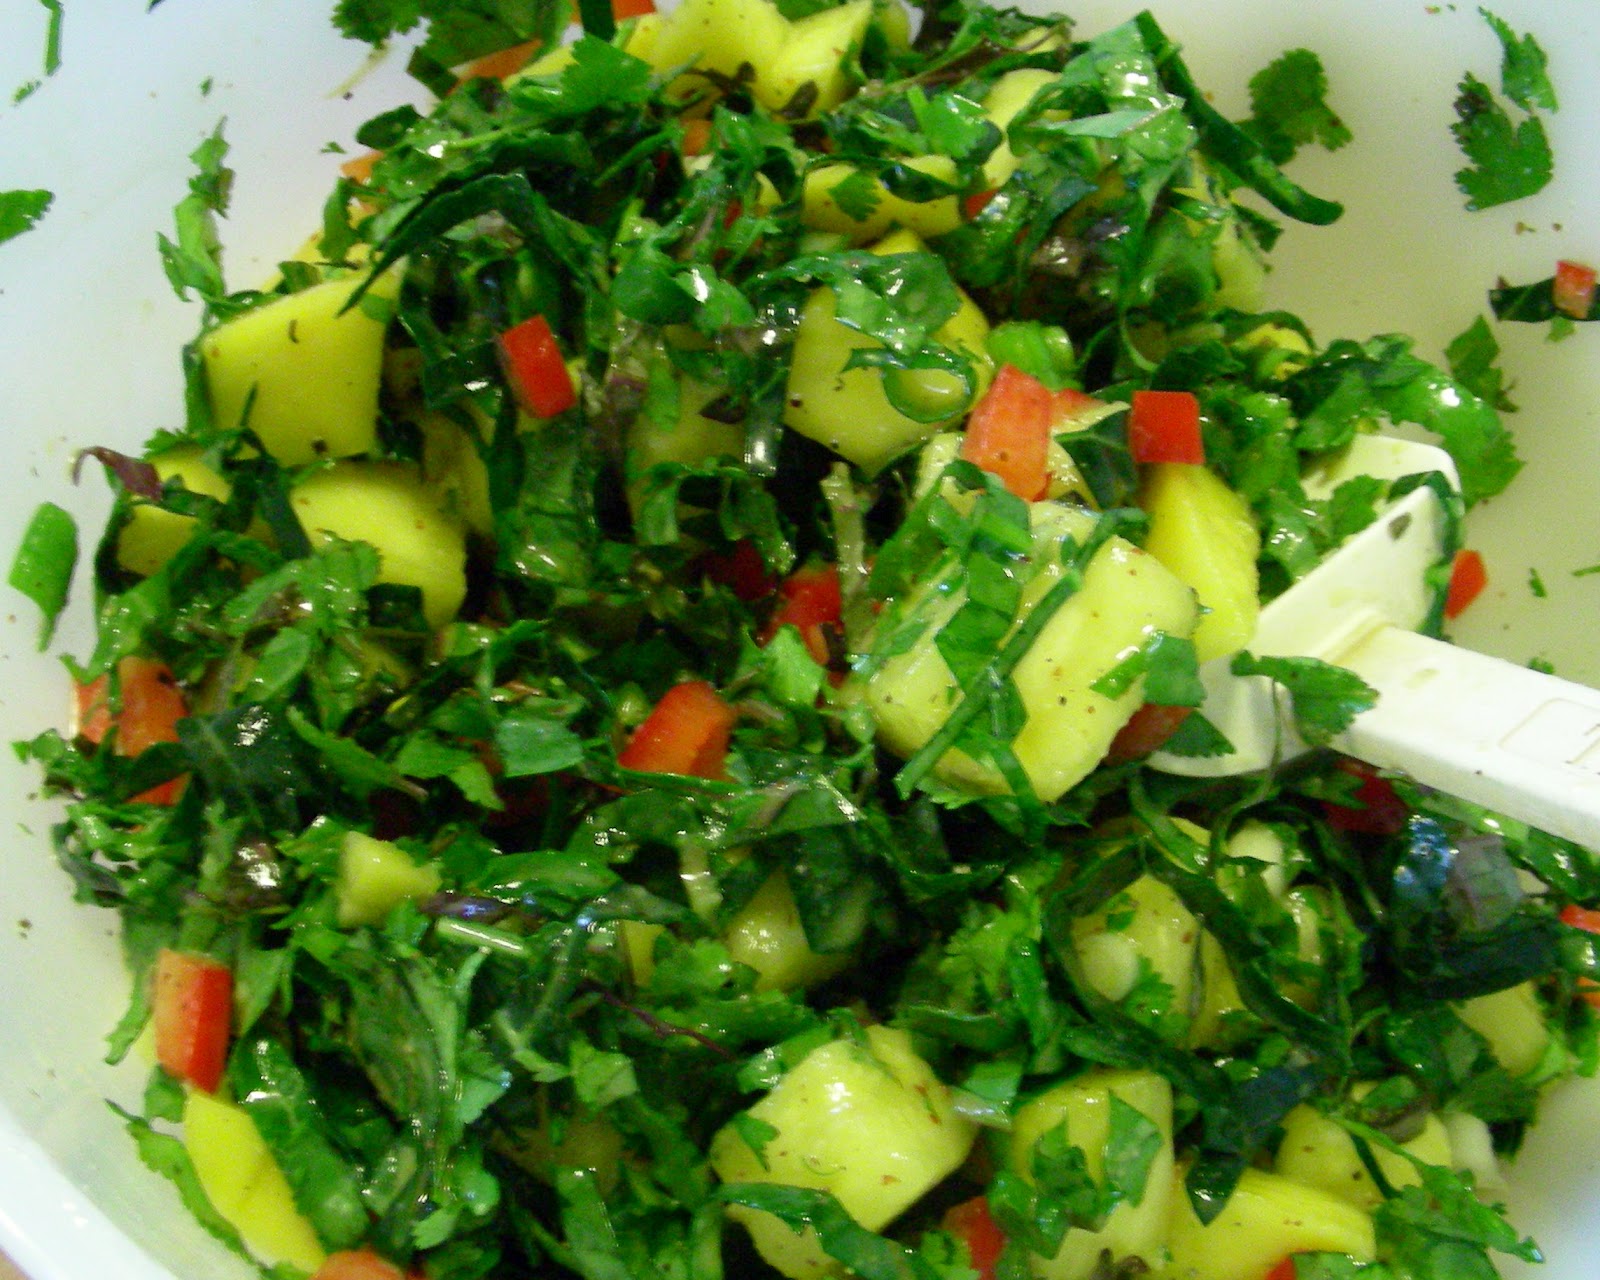
I don't think this picture really does this yummy salad justice. I'm a much better cook than photographer. I barely had time to take this picture before I threw it into a lidded bowl and jumped in my car to get on my way to a pot luck.
For an experimental model, this turned out very well. My friends and I enjoyed it very much. I've been jonesin' for the bright flavors of Spring fruits. The fruits here are tropical - mango and pineapple - but this would be just as good with strawberries or peaches. The vinaigrette is made from a recent jam experiment - lime jam. (Recipe commimg soon!) If you don't have lime jam, you can substitute lemon or lime curd, marmalade or even honey. I have never used raw kale in a salad and I was skeptical, but it is delicious! I hope you'll try a kale salad real soon!
Fruity Kale Salad with Citrus Vinaigrette
Salad:
1 large mango, peeled and cut into chunks
1/2 fresh ripe pineapple, peeled, cored and cut into chunks
3 green onions, sliced
1/2 red bell pepper, diced
large handful of chopped cilantro (I used half of a bunch)
6 mint leaves, chopped
2 cups of kale leaves that have had the ribs removed and been sliced very thin
Dressing:
1 tbsp. lime jam
juice of one orange
1/4 tsp. salt
1/4 tsp. garlic/herb seasoning
1 tsp. country style Dijon mustard
freshly ground black pepper
1/4 cup extra virgin olive oil
Toss all the all of the salad ingredients together. Place all of the dressing ingredients into a blender or tall container. Blend in the blender or with a stick blender until emulsified. Toss the dressing with the salad. Let stand for 20-30 minutes before serving.
Monday, February 6, 2012
White Bean Soup with Green Ribbons
Sometimes the farm box is the mother of invention. California is a great place to be for winter, but even here, choices narrow in wintertime. Both the farmers' markets and my farm box have been full of citrus, roots and greens. The good news is, I love all these things. But, I must admit, I'm dreaming of berries and drupes and pickles, Oh My!
This week was so busy for me that I stuffed my farm box into the fridge on Tuesday and didn't get to work on it until Sunday. The busy I've been is all kinds of good, but I sure was glad to have an opportunity to work outside and in the kitchen on Sunday. Let's see, I made sauteed radicchio and chard, vegetable pancakes out of an errant turnip, broccoli stems and carrots, turkey meatloaf and this soup. I also peeled and chopped a pound of fresh ginger to make candied ginger and ginger syrup. (It's boiling right now!) My onion goggles came in handy for processing that ginger. Ginger + eyeballs = no good!
Like most soups, this one is adaptable to whatever vegetables you find in your life. This version is pretty classic and absolutely delicious, if unsurprising. I made use of my crock pot to simmer the beans to tenderness after their soak. The crock pot is a great way to leave something cooking while you work in the yard. Because beans can foam, I've had them spill over and put out my gas burner. Luckily we discovered it fairly quickly and got the windows open and used the whole house fan to suck out the gas. Ever since that episode, I use my crock pot for unsupervised simmering.
White Bean Soup with Green Ribbons
1 1/2 cups white beans, picked over and washed
1/4 cup olive oil
2 leeks
2 ribs celery
5 small carrots
4 oz. mushrooms
8 oz. ham
1 tbsp. chicken base
1 large bunch spinach
salt and freshly ground pepper
Soak the beans over night or do a quick soak by bringing the washed beans and 8 cups of water to a boil. Let stand for one hour. If you have soaked the beans overnight, rinse them and add 7 cups water. Bring the beans to a boil and simmer until tender - about 3 hours on a very low heat.
When the beans are tender, prepare the rest of the soup. Cut the green parts and roots off of the leeks. Split the leeks length wise, then slice thin across the grain. Place the leek pieces in a colander and rinse thoroughly. Drain. Wash and dice the celery and carrots. Wipe the mushrooms and dice. Dice the ham. Heat the olive oil in a large soup pot. Add the veggies and ham and saute until the veggies have softened a bit. Add the beans and their liquid. Add 2 more cups water and 1 tablespoon chicken or vegetable base. (Use stock or broth, if you prefer.) Bring to a boil and simmer until the vegetables are tender. Meanwhile, wash and dry the spinach. Stack the spinach leaves and cut into thin ribbons. Add the spinach to the soup and stir. It will soften very quickly. Taste the soup and adjust salt and pepper.
Makes about 8 cups at about 210 calories per cup. (Yep, we're counting again.)
Friday, January 27, 2012
Random Food Fridays - Artichoke Pesto Chicken Thighs
When I created RFF, it was my intention to share things like this. Yummy, but not really a recipe. Just good ideas for eating.
I never even knew there was such a thing as artichoke pesto until I received some from my brother and his family at Christmas. I had thawed some trusty chicken thighs and needed something to jazz them up. This pesto did the job nicely. You can use all kinds of things to marinate chicken. I suggest that you experiment. When I tasted this (before the chicken, of course), I knew a little lemon juice and cracked black pepper would punch it up that much more.
One really nice thing about marinating meat, is that in most cases, there is enough acid involved that you can plan it and let it wait for a few days in the fridge until you are ready to use it. These make a tasty weeknight dish that is ready in about 20 minutes.
By the way, parchment paper is the bomb. It's one of those kitchen tools that makes me wonder how I ever lived without it.
Artichoke Pesto Chicken Thighs
5 boneless, skinless chicken thighs
1/2 cup artichoke pesto
juice of 1/2 a lemon
several course grinds of black pepper
Mix all the ingredients, cover and refrigerate until ready to use.
Preheat oven to 400 degrees. Place the marinated chicken on a parchment sheet-lined cookie sheet. Be sure to scoop all the marinade and mound it onto the chicken. Bake for 20 minutes. Allow to rest for a bit before serving.
None of these made it to sandwiches, but I bet they would be great!
Friday, January 20, 2012
Random Food Fridays - Fried Rice
When Mr. Dwayne and I were young marrieds, on a strict budget, this dish showed up in the weekly rotation quite often. Back in the 80's (don't worry, I won't hit you with my cane) we tried to keep our grocery bill under $25 per week. It was a lot easier back then! I can remember running to the store with my mother-in-law for milk and seeing her drop $40-$60 just to "pick up a few things" and I was shocked! Now, I am that lady. In fact, I no longer plan every meal for the week and I no longer buy only the food that is needed for the planned meals. I'm livin' large! I'm glad that conditions, whether it's a narrow budget or a farm box with mystery ingredients, have helped to push me towards creative activity.
This fried rice uses bacon, although you could also use diced ham with good results. Really, you could pretty much clean out your fridge on this one. I like the bacon because for a few skinny rashers, you get great tasting fat for stir frying the veg and you get those salty, crispy bits to enrich the flavor.
Fried Rice
3 cups cooked brown rice (1 cup dry, I used local short grain rice)
5 slices of thin bacon
1/2 cup diced onion
1 carrot, grated
1 rib of celery, sliced thin
1 cup frozen peas
2 eggs
About 2 tbsp. soy sauce
About 1/2 tsp. sesame oil
The rice can be cooked in advance and reheated for this. I find that leftover rice keeps its shape better.
In a large skillet, cook the bacon slices over medium high heat until most of the fat is rendered and it is crispy. Remove to a paper lined plate. Add the onion, carrot and celery to the bacon fat in the pan and saute for 2-3 minutes. Add the frozen peas and saute about 2 minutes more. Meanwhile, whisk the eggs and cook in another pan and set aside. When the veg is just tender-crisp, add the rice and toss. Sprinkle with soy sauce to taste. Sprinkle with sesame oil to taste. While the rice is heating, cut up the egg and bacon. When the rice is hot and seasoned to your liking, add the bacon and egg and toss to combine.
Friday, January 13, 2012
Random Food Fridays - Pea Soup
See that lemon? That's not a mistake. Fresh lemon juice over most bean soups is flavor magic!
Really, there are so many soups that benefit from ham. It took me almost a week to decide what this ham soup would be. Of course, the beauty of soup is that you make it from what you have and then tinker with it until it is what you want. Soup Magic.
What I had was this: shallots, garlic, parsley, carrots, celery, yellow split peas, chicken base and ham. I'm going to give you approximate measurements, because I expect you to make your soup, not my soup. The most important thing is, MAKE SOUP.
Pea Soup
1 lb. dried peas, picked over and washed (no joke - there could be rocks in there!)
1/4 cup olive oil
a chunk 'o' ham, diced
several shallots, diced
a few carrots, diced
2 stalks of celery, diced
big handful of chopped parsley
1 or two fat cloves of garlic, diced
8 cups water
a scoop of chicken or vegetable soup base
salt and pepper
lemon wedges for serving
Heat a large pot and add the olive oil. Add the veggies and ham and saute for about 5 minutes. Add the peas and water and bring to a boil. Reduce heat to low and simmer for about 90 minutes. Add a spoon full of chicken base and stir. Taste for seasoning and add salt and pepper. I added 1 1/2 tsp. kosher salt and several grinds of black pepper. Continue to cook until the peas are completely tender. Serve hot with a wedge of lemon.
The perfect lunch - soup and Stephen King!
Monday, January 2, 2012
Lovely Lotion
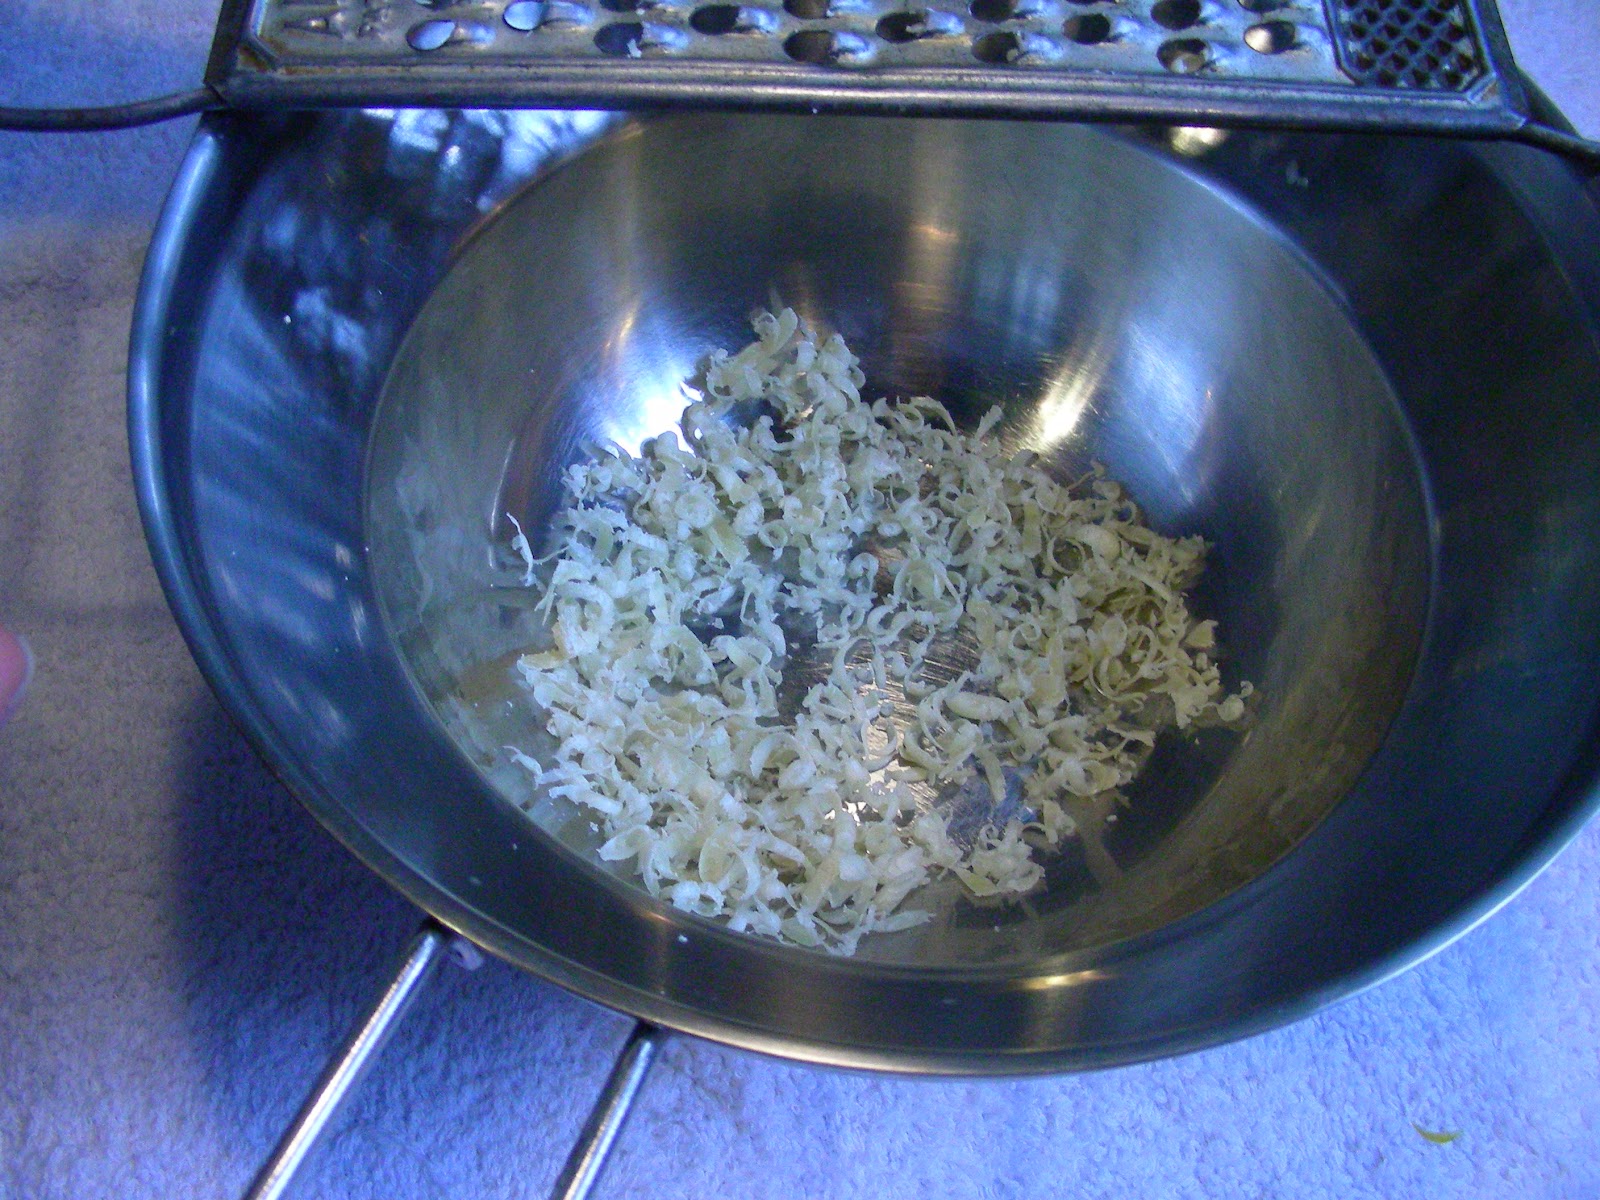
Start by grating 2 tbsp. bees wax into the top of a double boiler.
I've been using straight, extra virgin coconut oil as a moisturizer for a while. It smells great and feels great. Smoothing it in after a hot shower just feels like good, solid self care. Sadly, my love of coconut oil has been hard on my clothing. I wanted to find a lotion that would give me the same yummy feel, but soak into my skin in a reasonable amount of time. After a few tries, this Lovely Lotion came into being. As usual, I didn't start from pure imagination. I started with this recipe, but adjusted it to suit my preferences. This is a rich lotion for dry times. It has been a skin saver this winter.
My friend Katy wanted to learn how to make this lotion and volunteered to document the process and did a great job. Thanks for the pictures and the swell day together!
All of the measurements for this recipe are approximate.
You will have to eyeball it and trust your intuition.
While the beeswax is melting over simmering water, "measure" 2/3 cup of extra virgin coconut oil
"Measure" 3 tbsp. shea butter.
Allow the wax to melt completely, then add the coconut oil and shea butter. Melt them together.
While the solid oils melt, measure 1/2 cup of aloe vera gel and 1/4 cup distilled water.
Pour the melted oils and wax into a tall bowl. Place the glass cup with the aloe vera gel and water into the pan of simmering water to warm slightly. The emulsification will work better if everything is close to the same temp.
When everything is around the same temp, use a blender to slowly mix the aloe/water mix into the oils until it becomes white and creamy.
Add the contents of one punctured vitamin E capsule...
...and several shakes of lavender and grapefruit essential oils.
Whip some more!
This is enough to fill two half-pint jars. It is quite solid at cool room temp, so I scoop it out with a little pink tester spoon from 31 Flavors. Avoiding dipping with fingers helps it last longer too. There are no preservatives you know!
Here I am, luxuriating in this scrummy lotion! Can you believe I'm an old girl with no make up! I will say that when I do wear make up over it, I have to watch that my mascara doesn't smudge.
Lovely Lotion
2 tbsp. grated beeswax
2/3 cup extra virgin coconut oil
3 tbsp. shea butter
1/2 cup aloe vera gel
1/4 cup distilled water
1 vitamin E capsule
Several drops each lavender and grapefruit essential oils
See the directions above and enjoy!!!
Subscribe to:
Posts (Atom)